Wacom Instant Pen Display
A really nice feature of the MovinkPad Pro 14 is its ability to also be used as a pen display, meaning it can be plugged into a computer and used as a second screen you can essentially draw on, like a traditional pen display. You can do this over WiFi too as well as connected directly with a USB-C cable.
This essentially means you are also getting two Wacom devices in one, a handy mix of the original Movink and the MovinkPad 11 but with a nice boost in size and performance.
Now this is an exclusive, early-access feature and is only available to those with the MovinkPad 11 or MovinkPad Pro 14. It’s also in early development, so some options are limited at the moment and the setup process, for now, is a little fiddly, but here are the basic steps if you're interested in trying it.

You first need to register your MovinkPad Pro and create a Wacom ID.
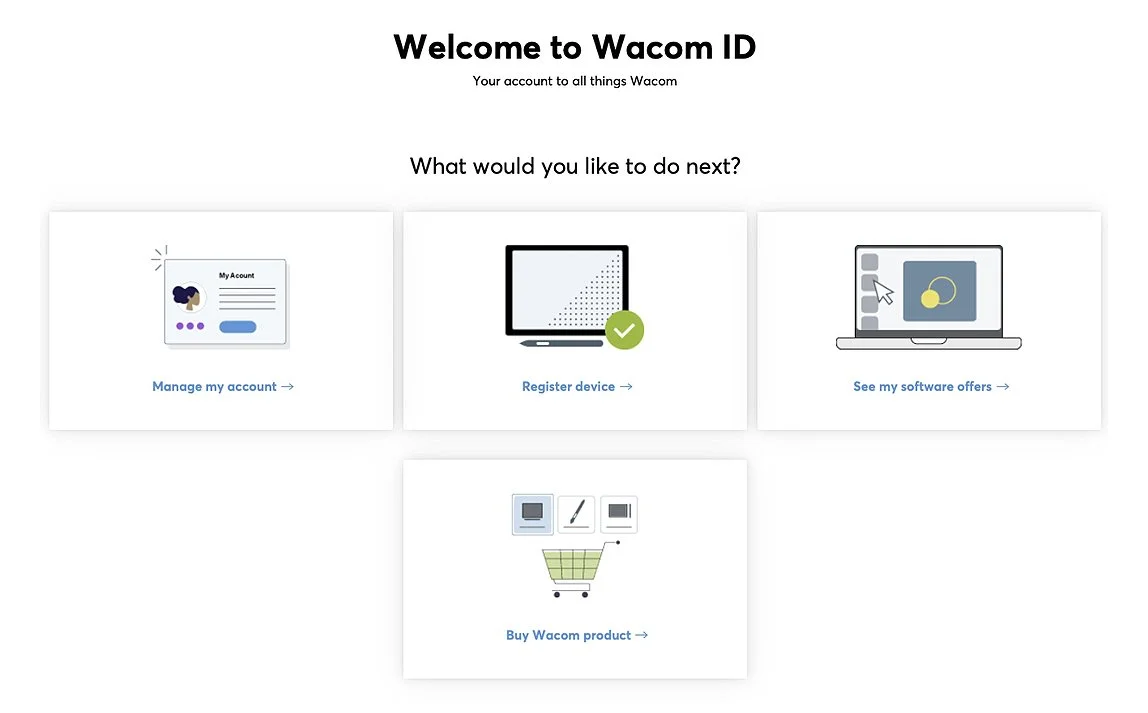
Next go to your Wacom account at account.wacom.com.
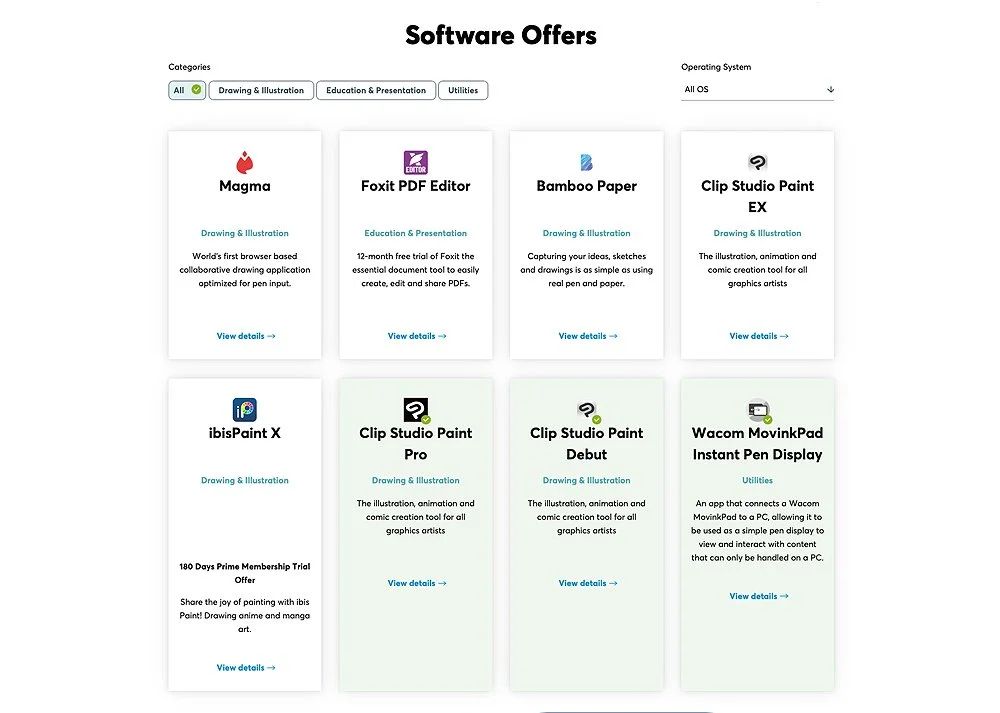
There you will see an option for Software Offers, usually at the top. This gives you access to the software you can download and also includes the Clip Studio Paint and ibisPaint trial Licences.
Click on Wacom MovinkPad Instant Pen Display.
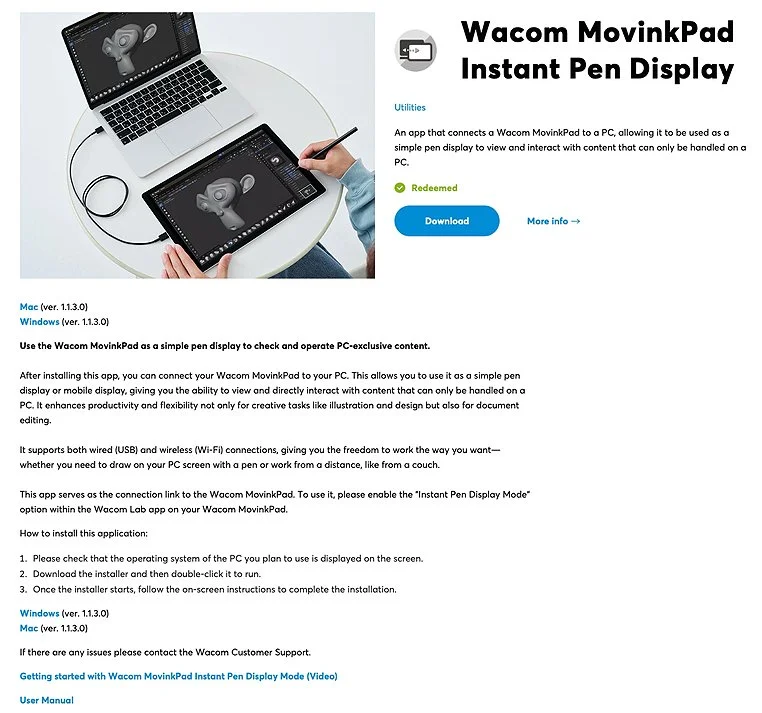
Download and install the software.
If you are using a Mac it will ask for several permissions, like screen recording, so make sure you allow these.

On the MovinkPad now, got to Settings > Wacom Lab and enable the Instant Pen Display option.
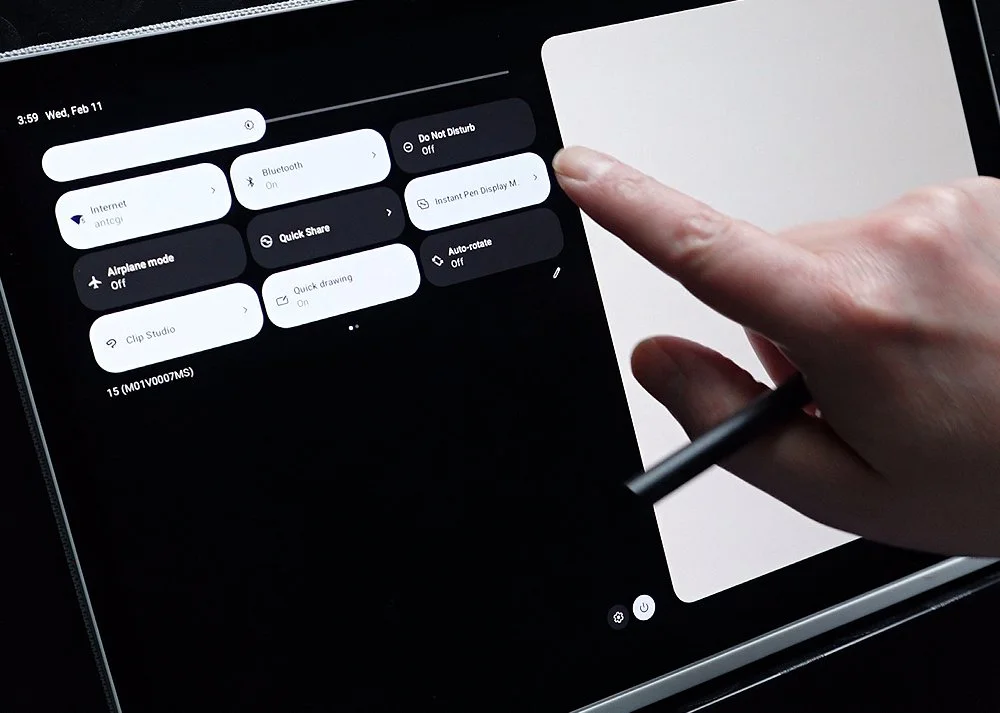
Next tap the Instant Pen Display Mode tile from the Quick Settings panel to launch the software.
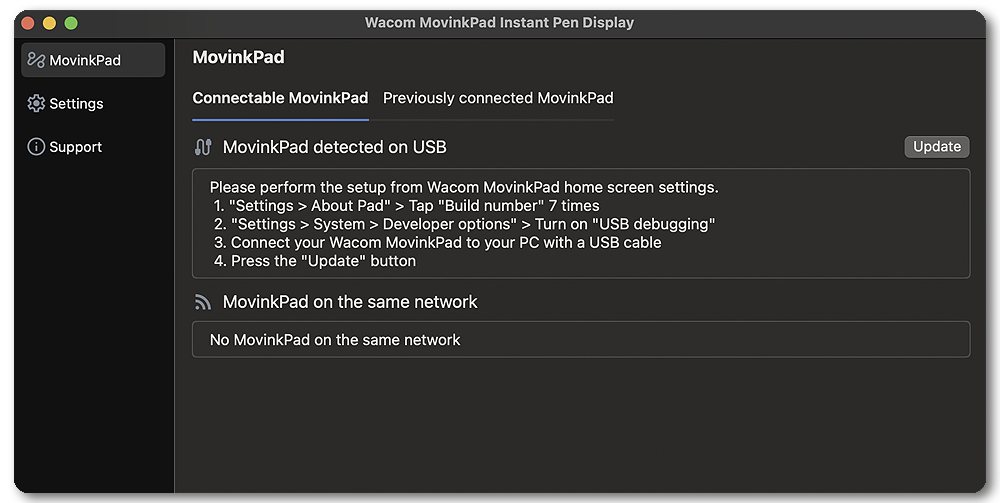
Back on your PC or Mac, launch the Instant Pen Display software.

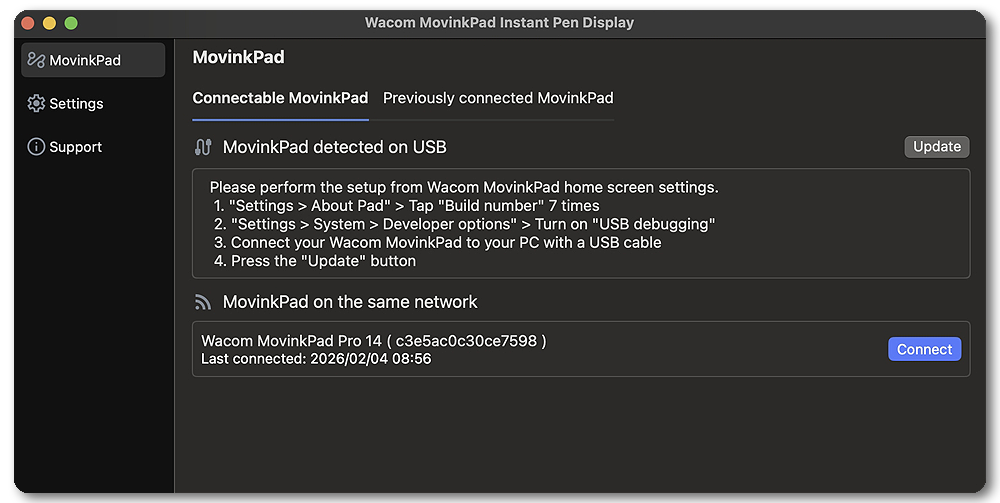
If you are using WiFi as your connection the MovinkPad should appear in the lower box, if so click Connect.
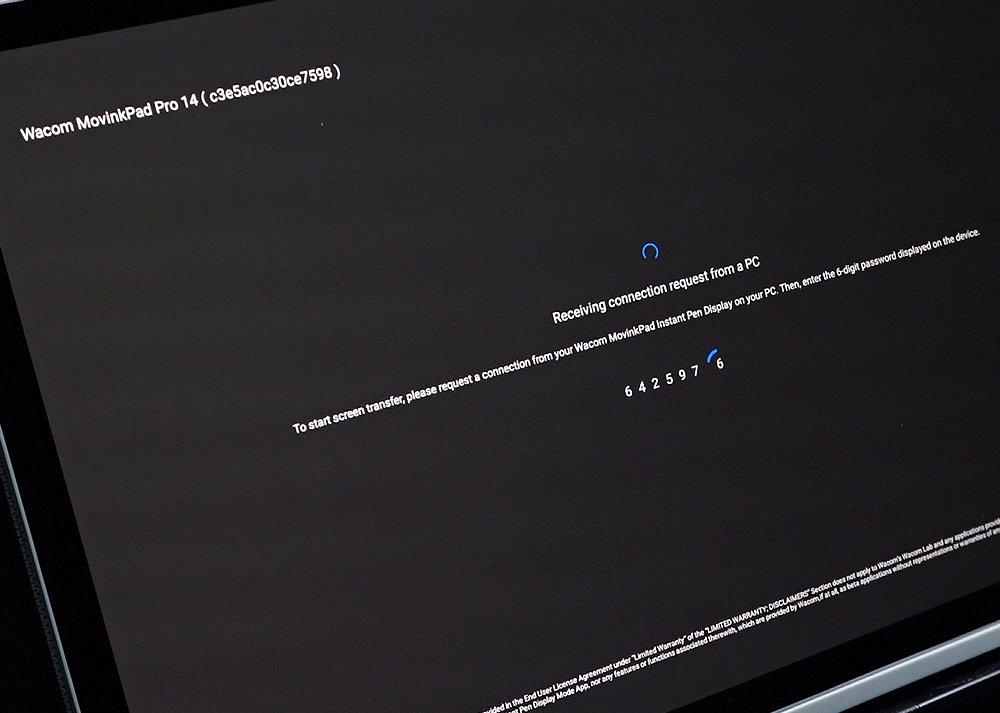
If you are using a PC it will ask for the code which is shown on the MovinkPad Pro, input this and it should connect.
As you can see from the box, if you are using a USB-C cable connection there are more steps to follow.
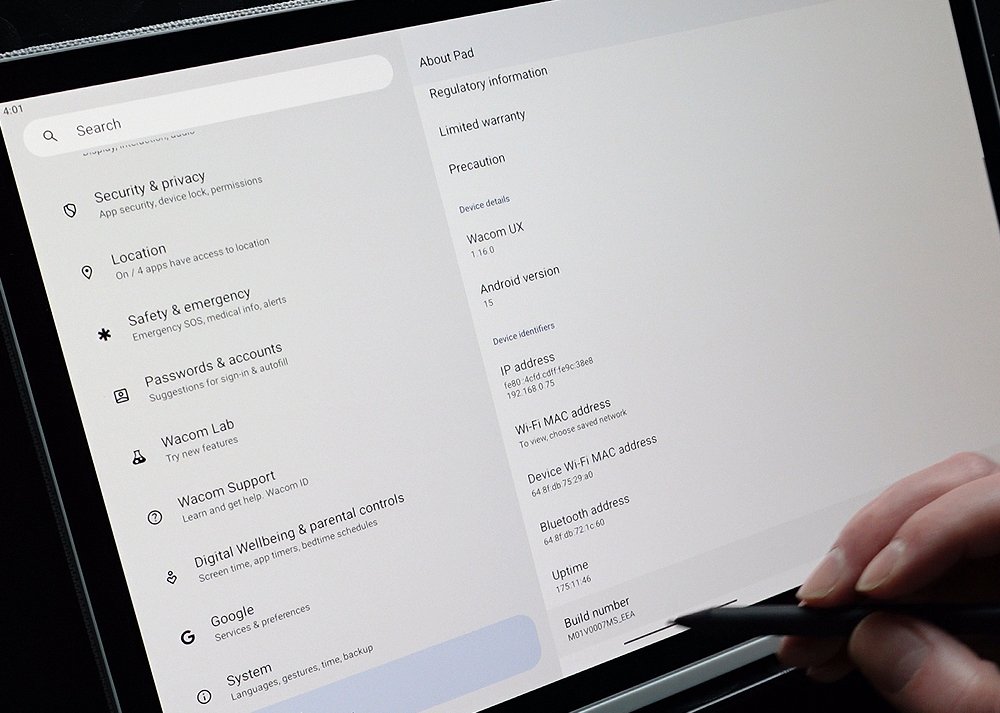
On the MovinkPad Pro, Go to Settings > About Pad and tap Build Number seven times.
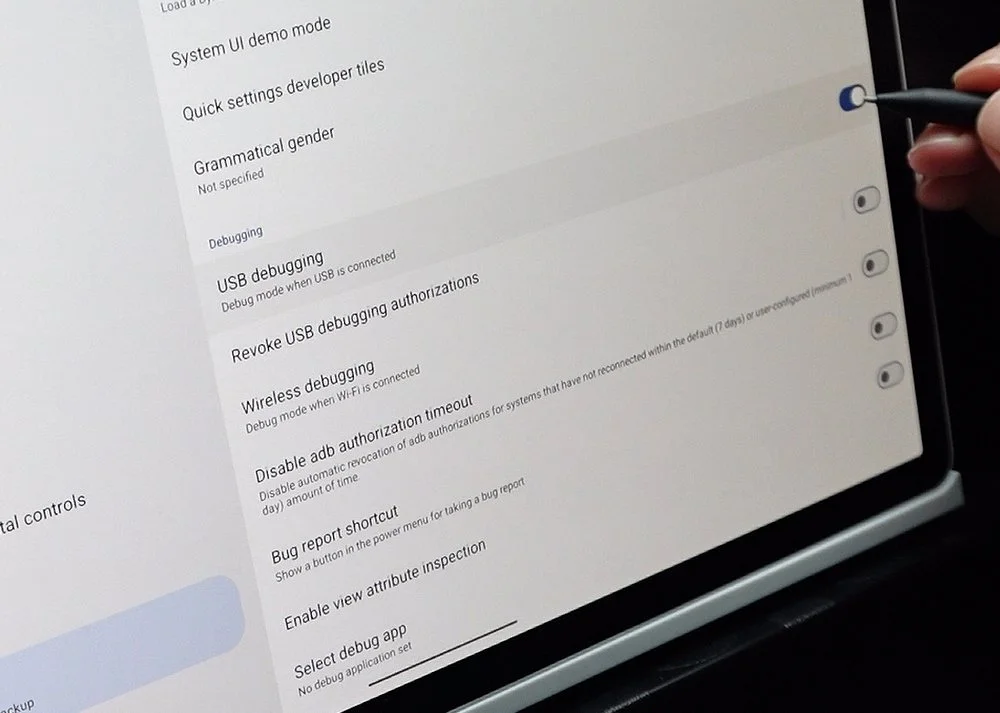
Next go to System > Developer Options and enable USB Debugging.
When you connect the USB-C cable now a pop-up on the MovinkPad Pro will ask for you to Allow USB Debugging.
Click Allow.

Back on the computer click Update and your MovinkPad will appear in the top window.
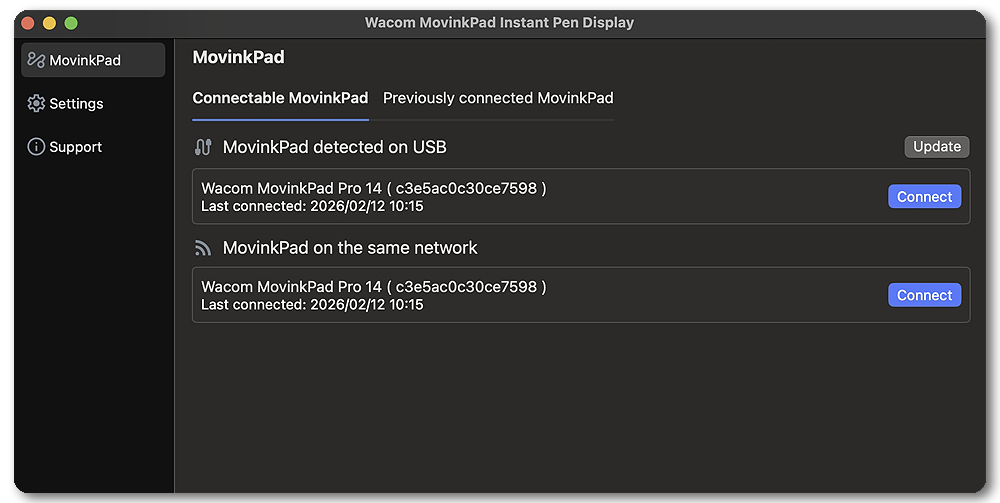
Click Connect to connect to it to the MovinkPad.
That feels like hard work but you only need to do it once and when connected its treaded like an additional monitor, so you set it up as you would any other additional display in your systems Display options.