Make the most of these tutorials with the source files and scripts.
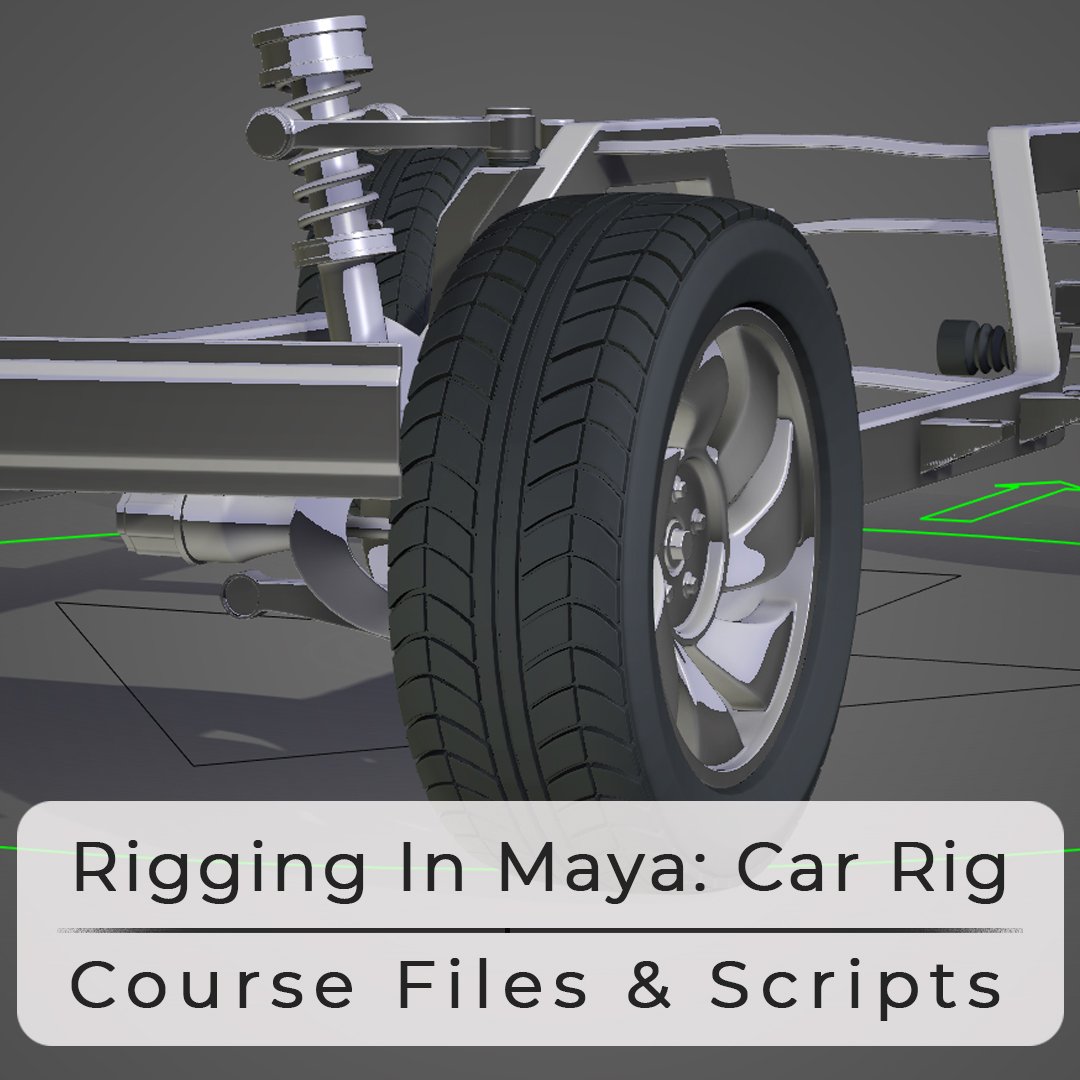
A collection of files which accompany the Rigging In Maya: Car Rig series where we explore rigging a vehicle.
This includes -
Wheel Rotation Files & Expression
Tyre Pressure Files & Joint Compression Script
Please Note: This workshop is currently in development so more files will be added at a later date, and given to you at no additional charge.
To find out more about these files, watch the following videos -
Welcome to my Modeling in Maya series.
Here you will find the assets which will allow you to follow my Modeling In Maya series and build your own female base mesh.
Just like with my Rigging In Maya series, I wanted to take things back to basics as I go through each element separately, so you get a clearer understanding of the whole modeling process.
The Video Pack Includes
Nearly seven hours of advert free, HD videos for you to keep
The main models sheets to work from
All the models at each stage of the course
The final model, fully UV mapped
The final model, fully rigged with a facial rig
A walk, jog and run cycle for you to experiment with
The Videos Cover
Polygon Fundamentals
Scene & Shader Setup
Torso & Limb Blocking
Hand, Foot & Head Blocking
Torso Detail - First Pass
Arm Detail - First Pass
Leg & Foot Detail - First Pass
Head & Face Detail - First Pass
Second Detail Pass
Deformation Testing
UV Mapping
antCGi Club Members also get access to exclusive, members only videos as part of this series.
The videos in this pack are available on the antCGi YouTube channel however, purchasing this pack allows you to own the full, HD versions and watch them advert free, while also helping to support the creation of more courses and content.
Welcome to my Rigging in Maya series.
In this pack you will be downloading all the source files, scripts and all 17 Videos, which include 14 hours of in-depth tutorials, in Full HD and Advert Free. All for you to keep.
Also included are the 4K versions of the textures without the watermark.
The plan with this series is to take things back to basics as I go through each element separately, so you get a clearer understanding of the whole rigging process.
This pack contains videos 1 to 17 in the series which focus on the fundamentals and creating a biped rig for a game character. Parts 18 to 37 are sold separately and cover more advanced areas as we develop a quadruped rig for use in VFX.
The Seventeen Videos Cover
Joint Fundamentals
Connections & Constraints
Control Creation
Set Driven Keys & Utility Nodes
IK & FK Limb Creation
Hand Rigging
Reverse Foot Rig
Spine, Head & Eye Rigging
Painting Skin Weights
Roll & Twist Joints
Squash & Stretch
Joint Based Facial Rig
Blendshape Based Facial Rig
Space Swapping
Global Controls - Character Scale etc.
Also includes the scripts used in the videos!
Blendshape Rigging Tool
IK <> FK Matching Tool
Mirror Rig Tool
Quick Limb Tool
Joint Arc Tool
ADDED BONUS: Now also includes the 4k textures PLUS the Rigging in Maya Script Pack!
You must read and agree to the terms and conditions before downloading the Rigging In Maya assets & scripts.
The videos in this pack are available on the antCGi YouTube channel however, purchasing this pack allows you to own the full, HD versions and watch them advert free, while also helping to support the creation of more courses and content.
Welcome to my Rigging in Maya series.
In this pack you will be downloading all the source files, scripts and all 20 Videos, which include 12 hours of in-depth tutorials, in Full HD and Advert Free. All for you to keep.
The plan with this series is to take things back to basics as I go through each element separately, so you get a clearer understanding of the whole rigging process.
This pack contains videos 18 to 37 in the series which focus on more advanced areas as we develop a quadruped rig for use in VFX. Parts 1 to 17 are sold separately and cover the fundamentals as well as building a biped rig.
The Videos Cover
Ribbons
Model & Rig Preparation
Driver Skeleton
Automatic Limb Rigging using Python - Joint Chains
Automatic Limb Rigging using Python - IK & FK Systems
Automatic Limb Rigging using Python - Squash & Stretch
Automatic Limb Rigging using Python - Roll & Twist Joints
Automatic Limb Rigging using Python - Volume Preservation
Limb Ribbons
Limb Ribbon Deformers
Spline & Ribbon Based Spine
Spine, Neck & Head
Dynamic Tail & Ears
Paw Joystick Controls - Roll & Bank
Additional Paw Controls
Ribbon Based Facial Rig
IK, FK, & Spline Tongue Rig
Skinning with ngSkinTools
Global Control Support
Finalize Your Rig
Now includes all the scripts used in the videos!
Ribbon Tool
Quick Limb Tool
Dynamic Joint Chain Tool
ADDED BONUS: Now also includes the Rigging in Maya Script Pack!
Also comes with two bonus videos!
Quadruped Rig Limb Comparisons
Create a Python UI
You must read and agree to the terms and conditions before downloading the Rigging In Maya assets & scripts.
The videos in this pack are available on the antCGi YouTube channel however, purchasing this pack allows you to own the full, HD versions and watch them advert free, while also helping to support the creation of more courses and content.
Rigging Tutorials & Workshops
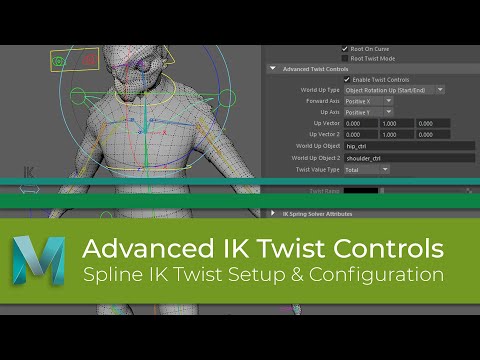
What I want to do with this video is go over how to setup and use Mayas Advanced Twist Tools which are found on the SplineIK handle.
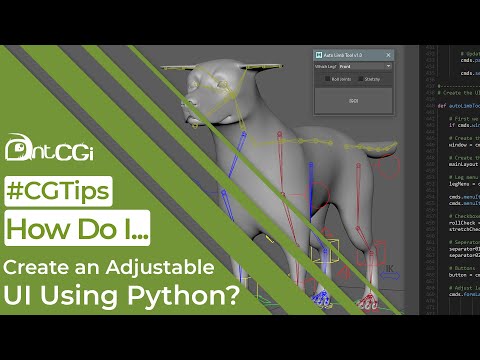
I recently finished working through a series of videos where I introduced you to Python. This was part of the main, Rigging In Maya series and helped us to create an automatic quadruped rigging tool.
Even though I covered lots of areas of scripting, I didn’t get the opportunity to finish the script off and give it a proper user interface.
So what I want to do in this video is take the script and rectify that by showing you how to build a scalable user interface while also making the tool more flexible.
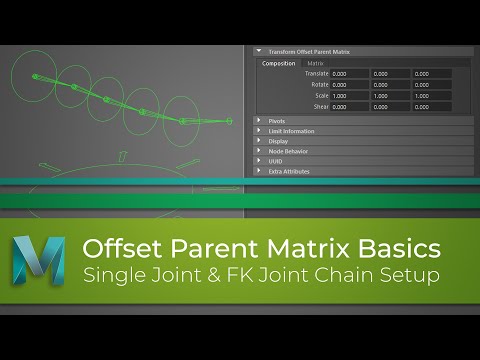
With Maya 2020, Autodesk gave us a whole suite of new rigging attributes and nodes to help make our rigs more economical, and powerful.
One of these is the offsetParentMatrix attribute which in short, offers another level on top of the main transforms meaning we can finally remove the need for all the offset groups that bloat our rigs.
There is obviously so much more to them, but in this video we will go over the basics of how to use them with a joint chain.
I recently finished working through a series of videos where I introduced you to Python. This was part of the main, Rigging In Maya series and helped us to create an automatic quadruped rigging tool.
Even though I covered lots of areas of scripting, I didn’t get the opportunity to finish the script off and give it a proper user interface.
So what I want to do in this video is take the script and rectify that by showing you how to build a scalable user interface while also making the tool more flexible.
With the release of version 2 of my ribbon creation tool I thought I would include a short video showing you how to use it.
It’s getting quite big now, so I hope this short tutorial will help you get the best from it.
If you don’t have this script yet, you can download it as part of the rewards if you are an antCGI Club member, or its available, like many of my other scripts and assets from my Cubebrush, Ko-Fi, Gumroad and Artstation stores.
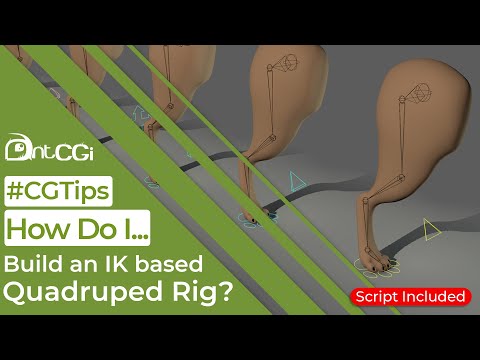
I’ve been doing a lot of research lately into quadruped limbs, mainly because I’m working on a full canine rig as part of my Rigging In Maya series.
There are a handful of different approaches to this type of rig, so I thought I’d share a few with you while also discussing the pro’s and cons of each. Plus, I’ll show which is my personal favourite, and the one I will be using as the base for my course.
Hopefully, demonstrating how to build each will also help when you are choosing the right approach for your own rigs.
Modeling Tutorials & Workshops
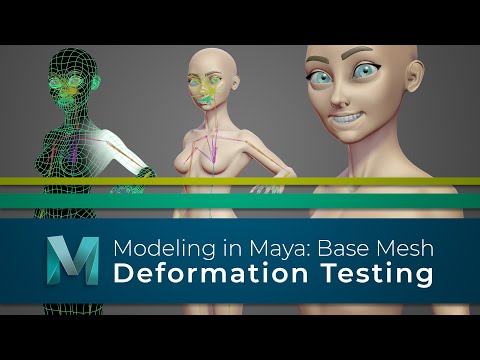
At this stage the model is complete, but as she is intended for animation it would be a good idea to test how she deforms and update the topology where needed.
Now, we have kept this in mind as we worked, but its still worth spending some time to make sure, before it is passed on to be textured.
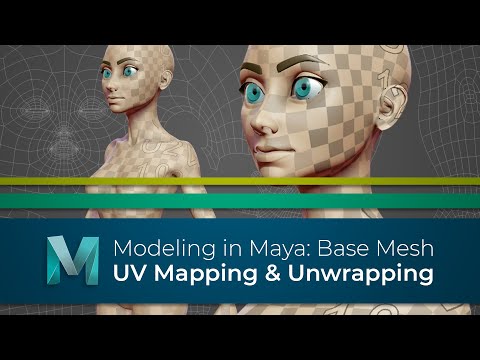
Your base mesh is complete, so in this bonus video I wanted to walk through my process for UV mapping her, making the model ready to be textured.
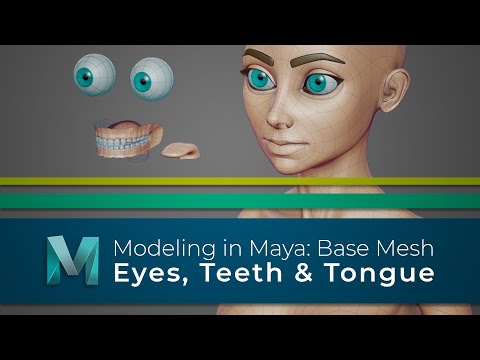
The main body model is almost complete, but before we move on and test how it deforms, we are going to take a break and work on some of the extra elements we will need.
So in this video we will build her eyes, teeth and tongue.
We now have the first pass done on the body, head and face. We've also made a good start on the hands and feet, so much so that I think all we need to do in those areas is clean up the topology and work on the shape.
At this stage we get to take a step back and look at the body as a whole before going in and working on the second detail pass.
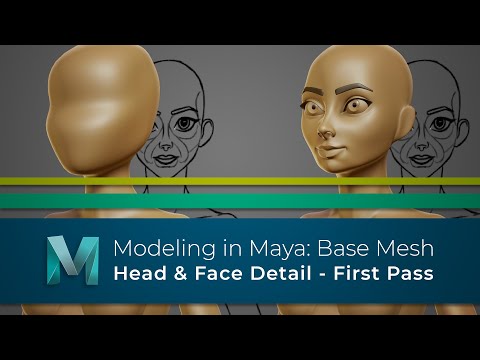
The first pass is now complete on the body but she still has no facial features, so in this video we will rectify that and give her some eyes, a nose and a mouth.
We now have the first detail pass done on the torso and arms, plus we have fingers.
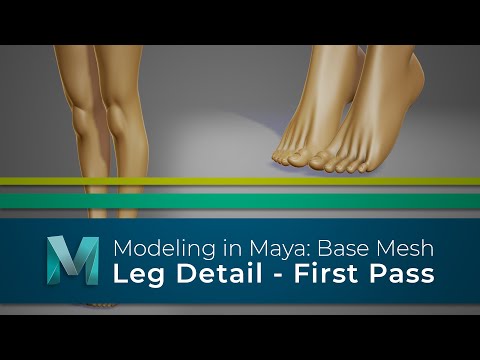
So let’s now turn our attention to the legs and the feet, and I think we will go a step further and also give her toes too.
Painting Tutorials & Workshops
I've been #painting for a few years now and I get asked about my process all the time. So in this video I talk you through the steps I took to improve my painting skills as well as offer advice on how you could improve your own.
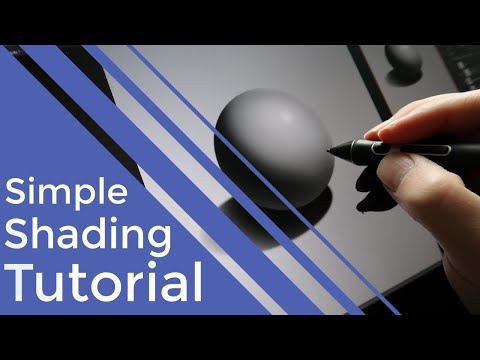
I get asked all the time about my technique for shading and blending tones, so I thought I would record a short tutorial to demonstrate how simple it is.
Although I use Photoshop in this video, the techniques can be easily transferred to any painting application.
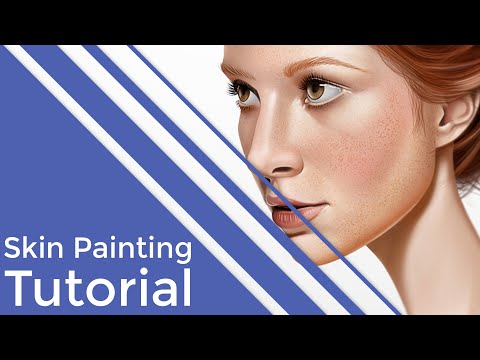
An in depth tutorial sharing my process for painting skin in Photoshop. I cover the brushes I use, variations in skin tones, light, shadows and more.
Although I use Photoshop for the tutorial, the techniques shared can easily be applied to other applications like Procreate for example.
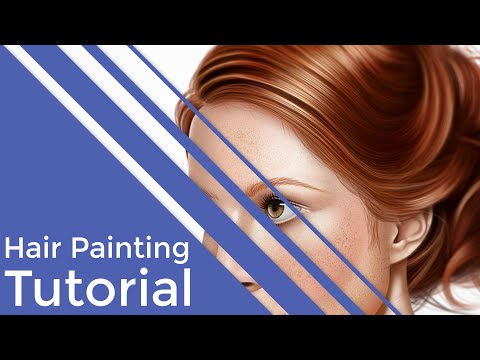
An in depth tutorial sharing my process for painting hair in Photoshop. I cover the brushes I use, variations in colour tones, highlights, shadows and more.
Although I use Photoshop for the tutorial, the techniques shared can easily be applied to other applications like Procreate for example.
In this tutorial we look at how to paint wet skin as we tackle a stylised portrait.
Huge thanks to ImagineFX for allowing me to share these with you. Make sure you check out the magazine, and subscribe.
https://www.magazinesdirect.com/az-magazines/6936559/imaginefx-magazine-subscription.thtml
With this tool you will be able to quickly generate a biped rig, in minutes rather than weeks. In a few simple stages you can have a rig suitable to be used in with Unreal Engine or Unity, complete with a fully featured facial rig, face poses and advanced features like squash and stretch and soft IK.
Quick Rig Generation
Create a fully featured rig in three simple steps.
Position the base locators which will dictate the base joint positions and add any extra joints needed.
Generate the base skeleton.
Generate the rig.
Now includes the bare source code for you to learn from and improve.
Previous Updates -
Fixed a bug when binding the models.
Added Maya 2025 support.
Checks the quatNodes plugin is loaded.
Added the ability to bake the animation.
Added FK Limb space swap options.
Updated twist control orientations.
Updated thigh control positions.
Mirror locators option in channel box.
Import locator positions bug fixed.
Import face poses bug fixed.
Jaw rotation bug fixed.
Added pose labels.
Mirror face poses bug fixed.
Middle chain label bug fixed.