Rigging Workshops & Tutorials
Make sure you download the source files so you can follow along.

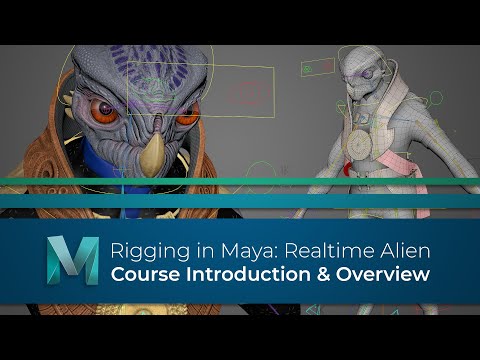
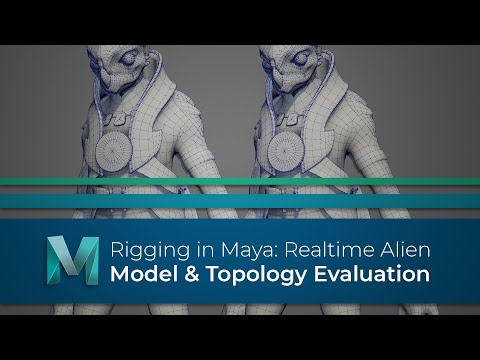
Welcome to my Rigging in Maya series.
Here you will find the assets which will allow you to follow my YouTube series, (Videos 1 to 17) and build your own rigs, in both Maya 2019 and 2017 formats.
The plan with this series is to take things back to basics as I go through each element separately, so you get a clearer understanding of the whole rigging process. Once the fundamentals have been covered, I will then move on to more advanced systems so by the end you will have all the tools you need to build your own complex rigs.
Now includes all the scripts used in the videos!
Blendshape Rigging Tool
IK <> FK Matching Tool
Mirror Rig Tool
Quick Limb Tool
Joint Arc Tool
Find all the videos below
The videos cover -
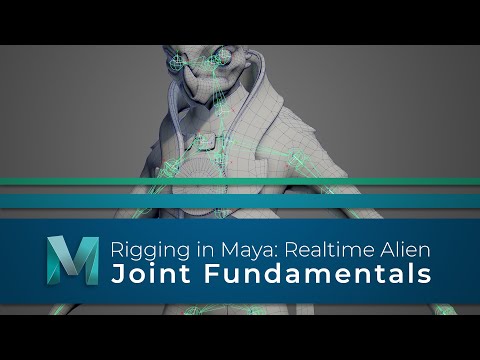
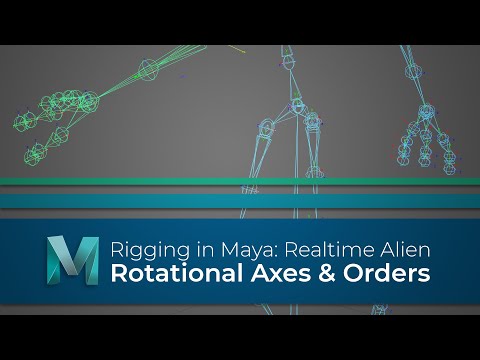
Joint Fundamentals
Connections & Constraints
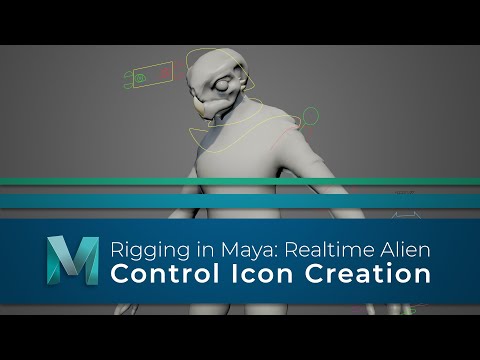
Control Creation
Set Driven Keys & Utility Nodes
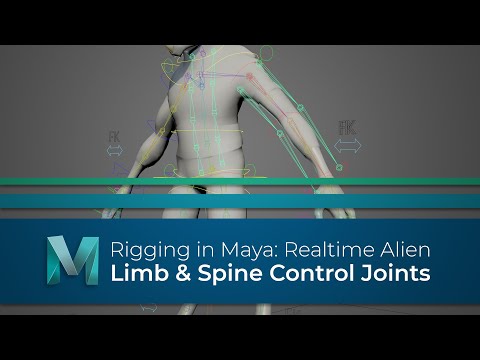
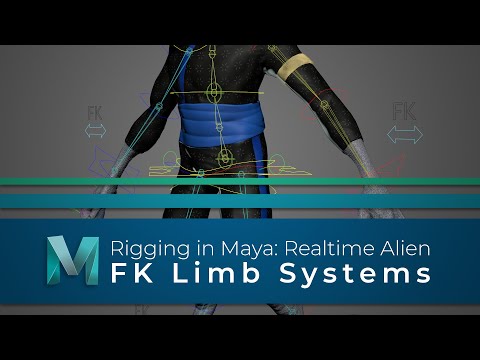
IK & FK Limb Creation
Hand Rigging
Reverse Foot Rig
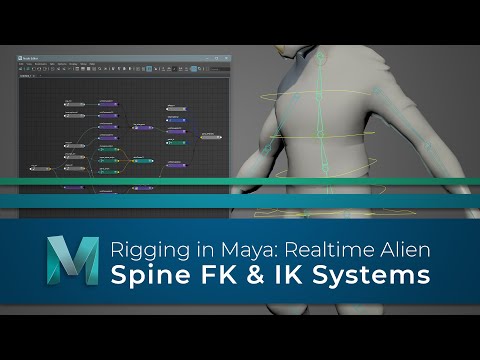
Spine, Head & Eye Rigging
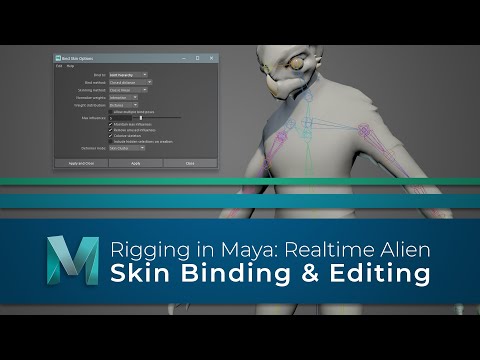
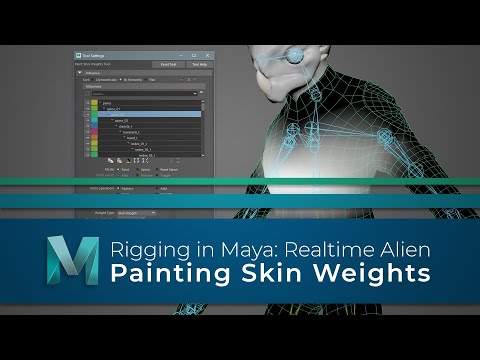
Painting Skin Weights
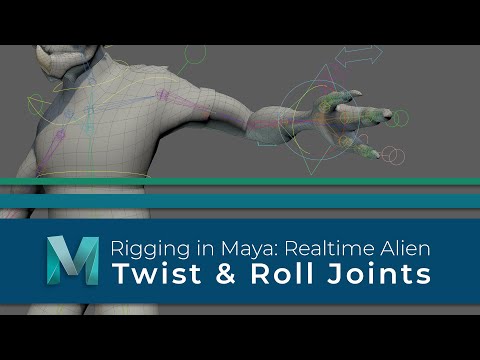
Roll & Twist Joints
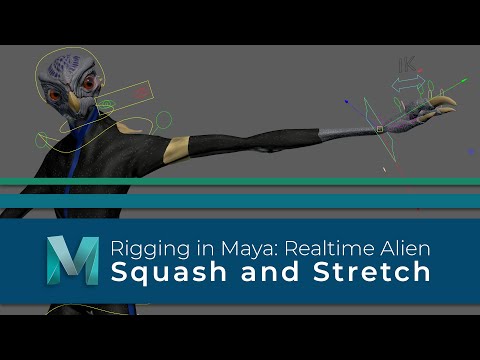
Squash & Stretch
Joint Based Facial Rig
Blendshape Based Facial Rig
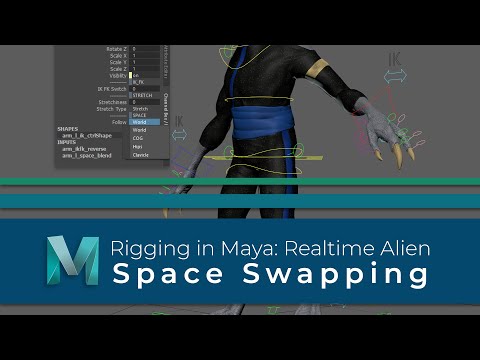
Space Swapping
Global Controls - Character Scale etc.
ADDED BONUS: Now also includes the 4k textures PLUS the Rigging in Maya Script Pack!
As these assets are intended for educational purposes only, the texture resolution has been reduced and a watermark added.
You must read and agree to the terms and conditions before downloading the Rigging In Maya assets & scripts.

Welcome to my Rigging in Maya series.
Here you will find the assets which will allow you to follow my YouTube series, (Videos 18 Onwards) and build your own rigs, in both Maya 2020 and 2017 formats, (where possible).
With this section of the course you will be looking at more advanced areas of rigging as we build an advanced quadruped rig, complete with a full facial rig, making it ready to go into a production environment.
Now includes all the scripts used in the videos!
Ribbon Tool
Quick Limb Tool
Dynamic Joint Chain Tool
ADDED BONUS: Now also includes the 4k textures PLUS the Rigging in Maya Script Pack!
Find all the videos below
BONUS
How Do I Build a Quadruped Rig?
The videos cover -
Ribbons
Model & Rig Preparation
Driver Skeleton
Automatic Limb Rigging using Python - Joint Chains
Automatic Limb Rigging using Python - IK & FK Systems
Automatic Limb Rigging using Python - Squash & Stretch
Automatic Limb Rigging using Python - Roll & Twist Joints
Automatic Limb Rigging using Python - Volume Preservation
Limb Ribbons
Limb Ribbon Deformers
Spline & Ribbon Based Spine
Spine, Neck & Head
Dynamic Tail & Ears
Paw Joystick Controls - Roll & Bank
Additional Paw Controls
Ribbon Based Facial Rig
IK, FK, & Spline Tongue Rig
Skinning with ngSkinTools
Global Control Support
Finalize Your Rig
You must read and agree to the terms and conditions before downloading the Rigging In Maya assets & scripts.