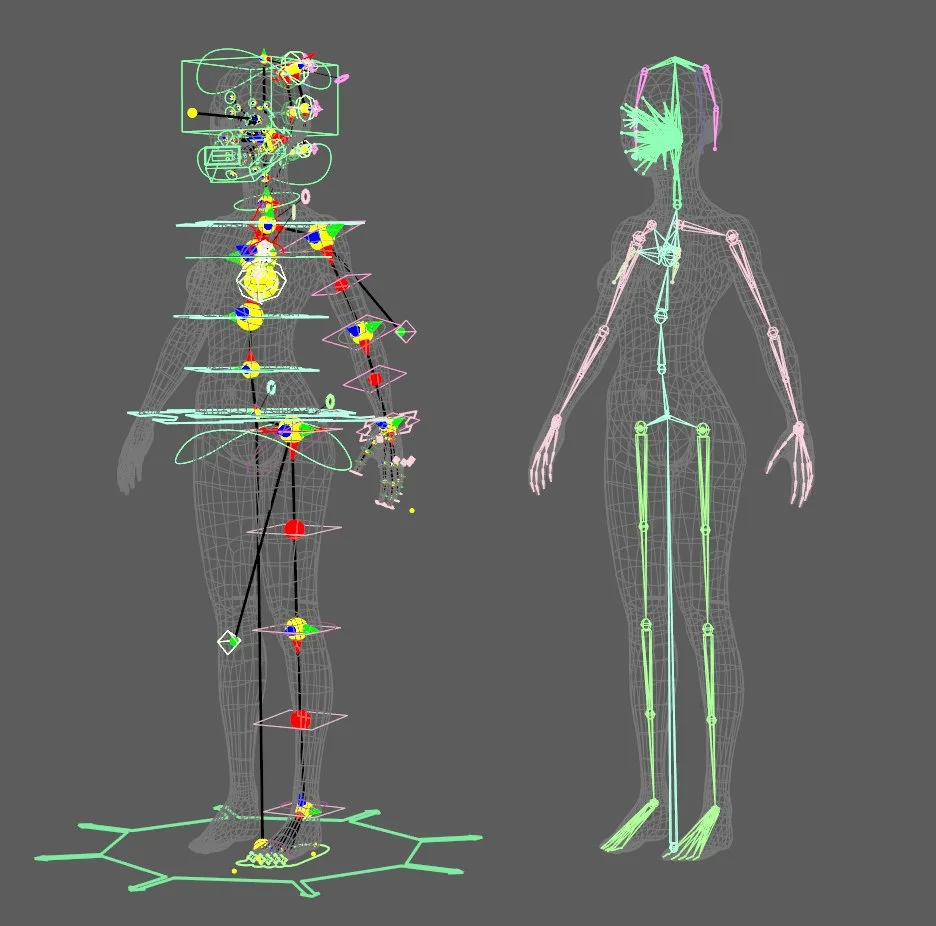
Skeleton Generation
At this stage you should check the joints are positioned correctly and they rotate and move as expected. If everything looks good and you are happy to move on you can now work on the skinning or generate the rig to experiment further.
When you are at a stage where you want to test the skeleton simply click the Generate Skeleton button.
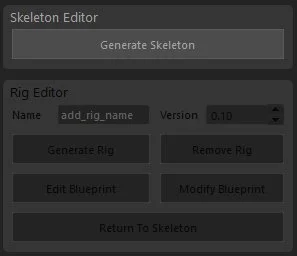
This will then convert the locators into joints, make sure the hierarchy and orientations are correct and also skin any available geometry to it.
However, if you need to rework the joint positions or orientations you can do this easily with the Edit Blueprint option.
This will delete the current skeleton and move back to the blueprint so you can make any adjustments,
You can then repeat the process until you are happy to move on.
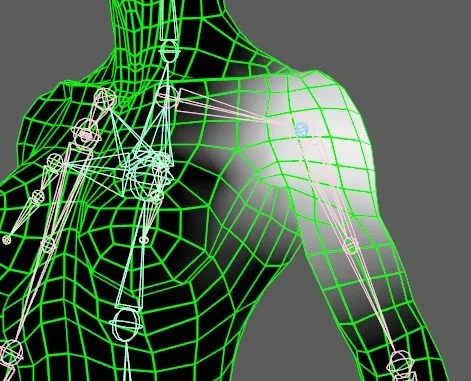
We all love skinning, its the main reason we got into rigging, right?
Well here are some key areas you will need to look out for when you work on your skin weights.
Skinning
If using the twist joints on the limbs, make sure to weight the upper part of the limb to the twist joint because the twist rig keeps this section steady.
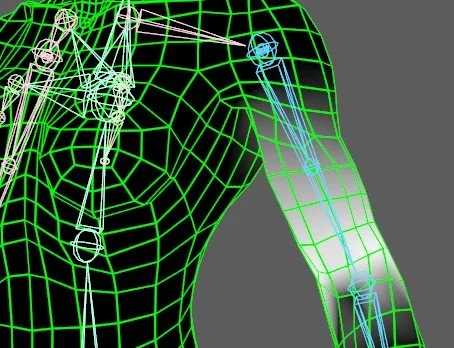
The actual joint can then influence the rest of that section of the limb because this will rotate with the limb.